
Winding a Shuttle Double

I love using 8/2 cotton for a variety of reasons. You can read about them here. But it does require a little extra work to wind a shuttle double. It’s a question that I get asked a lot so I thought I’d do a little post about how I do it, as well as how I’ve heard others do it. I’ve also done a video.
Of course, the simplest way to wind a shuttle double is to have 2 cones of the same colour. Here are a few tips:
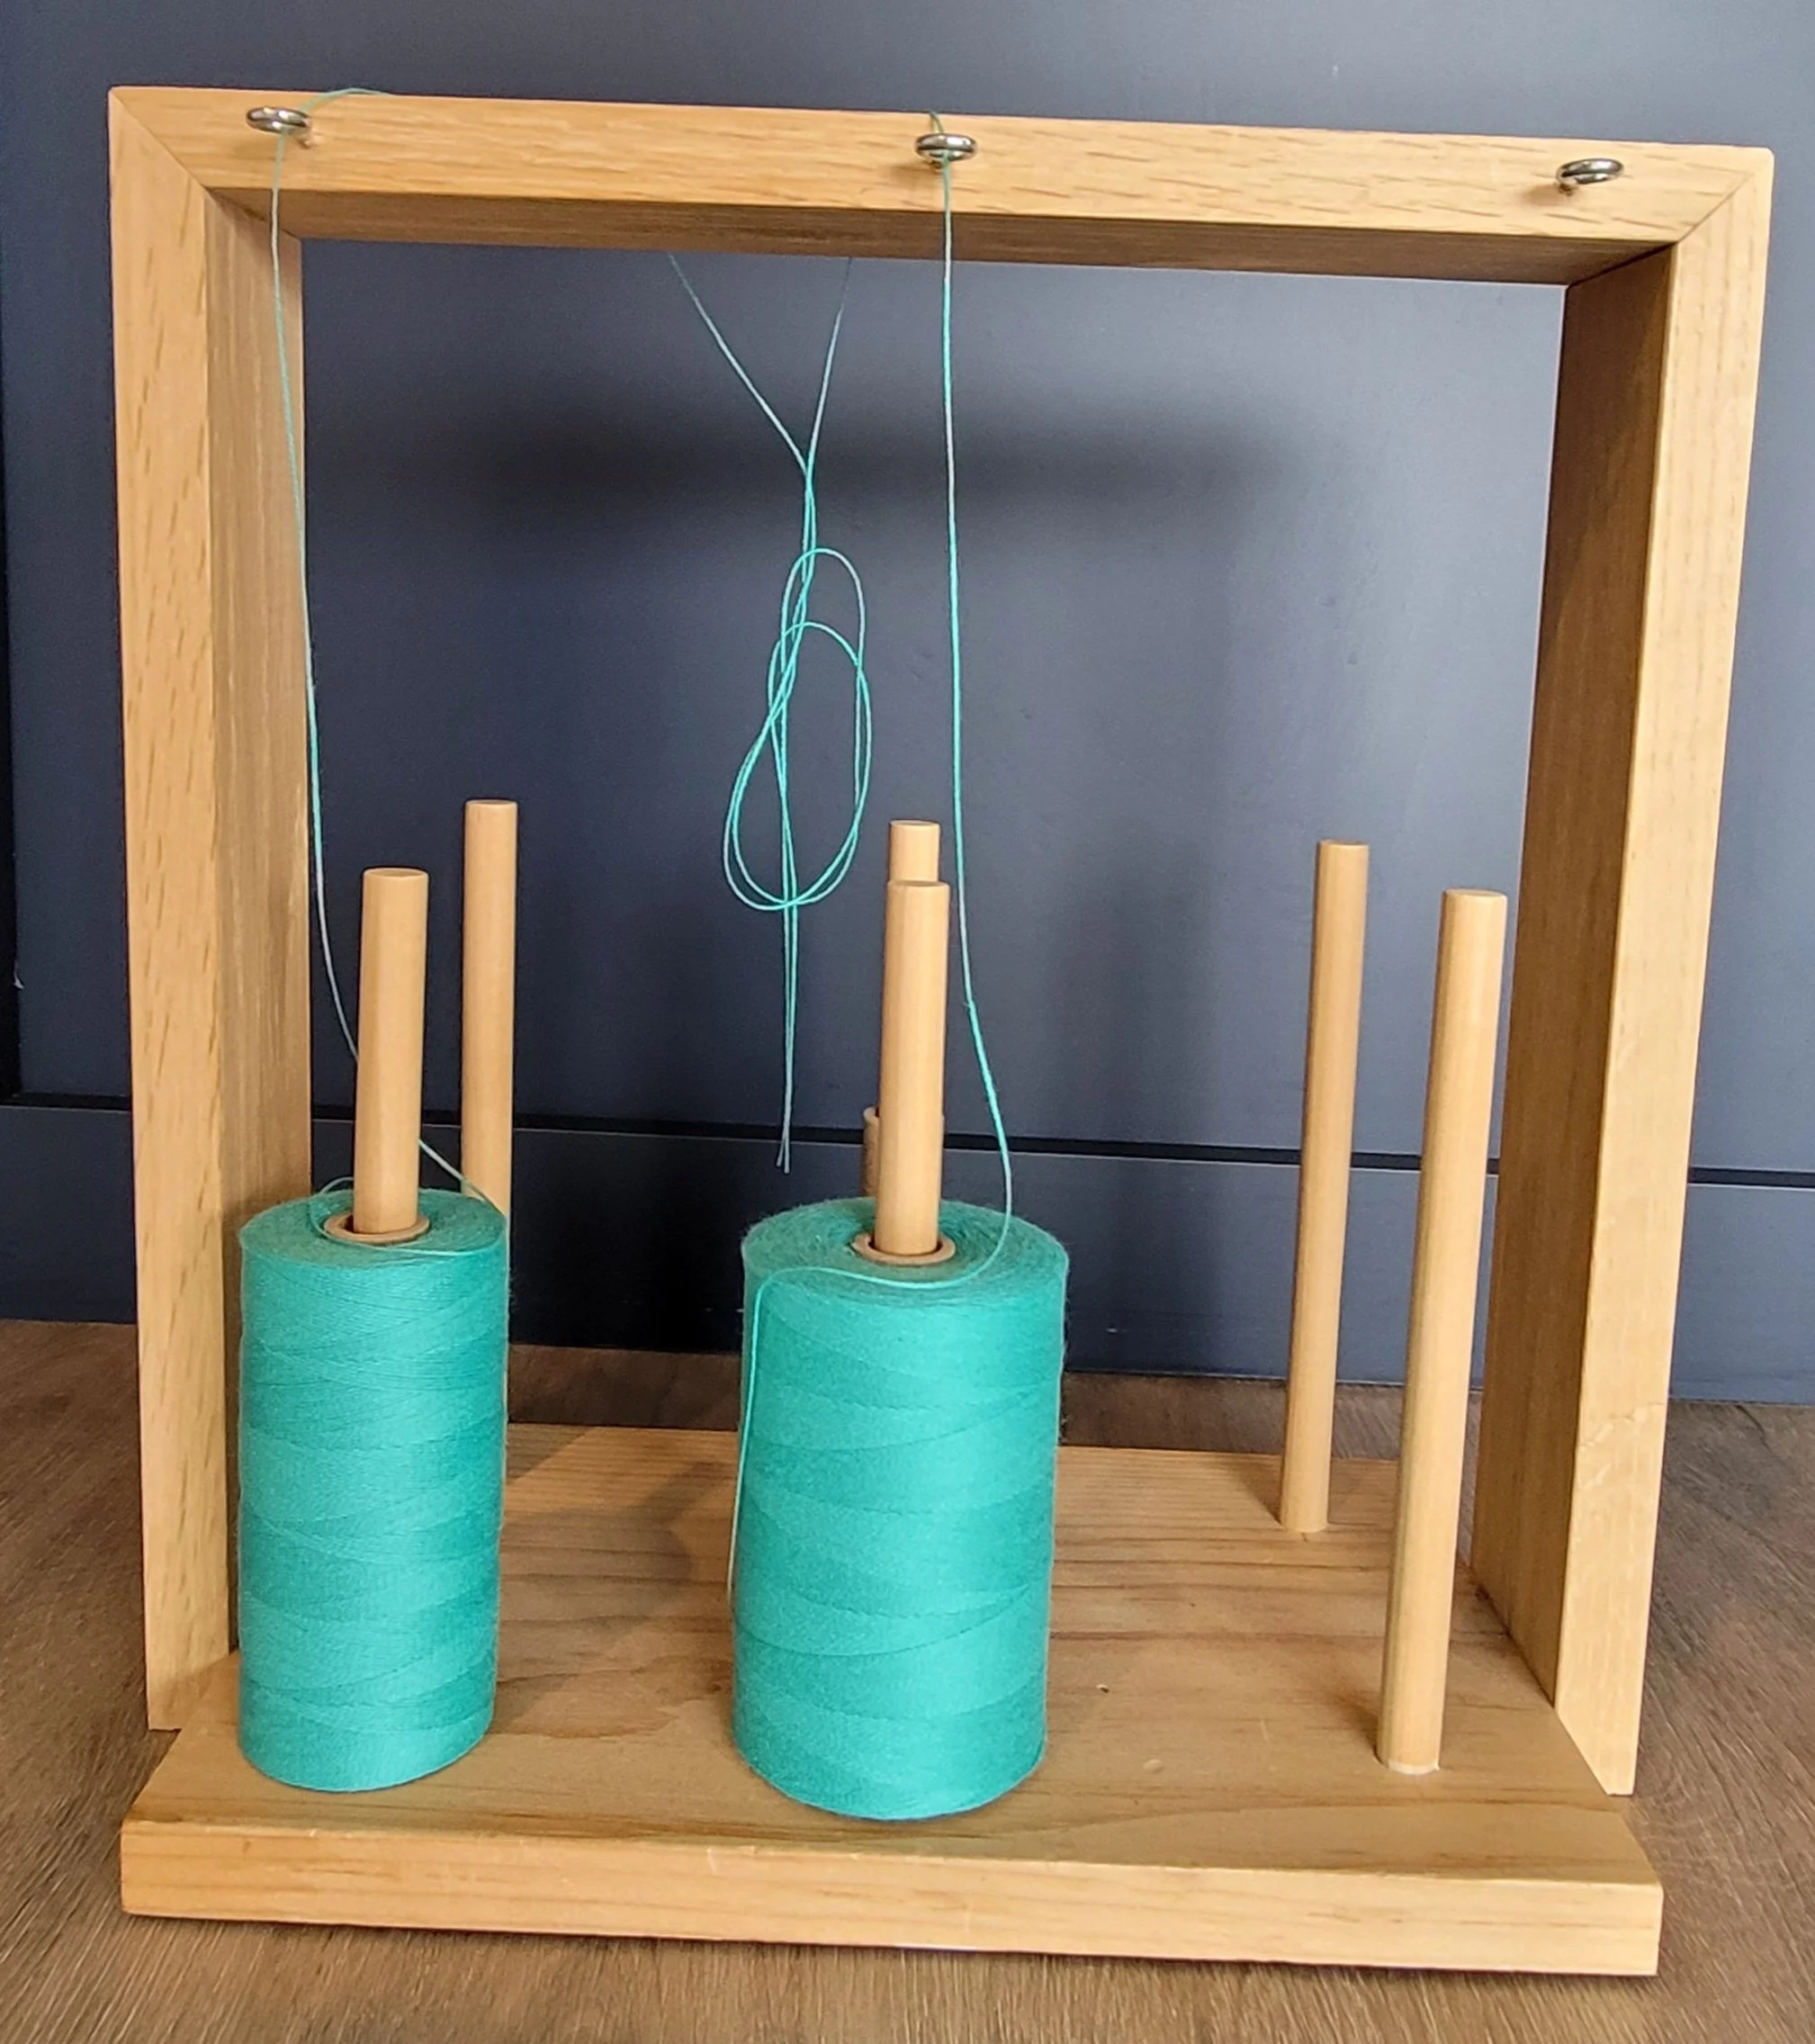
It works best if your cotton is on a stand. When the cotton comes off the cone and up, it doesn’t travel in a straight line…it travels in ever widening circles. When you are using 2 cones, those circles can get tangled leading to tension issues.
If you do not have a stand, keep the cones separated as much as you can…8-12” is usually good.
Pinch the cotton between your thumb and forefinger as it winds onto the shuttle. This will help maintain and even tension and you will feel if there is a tangle or knot.
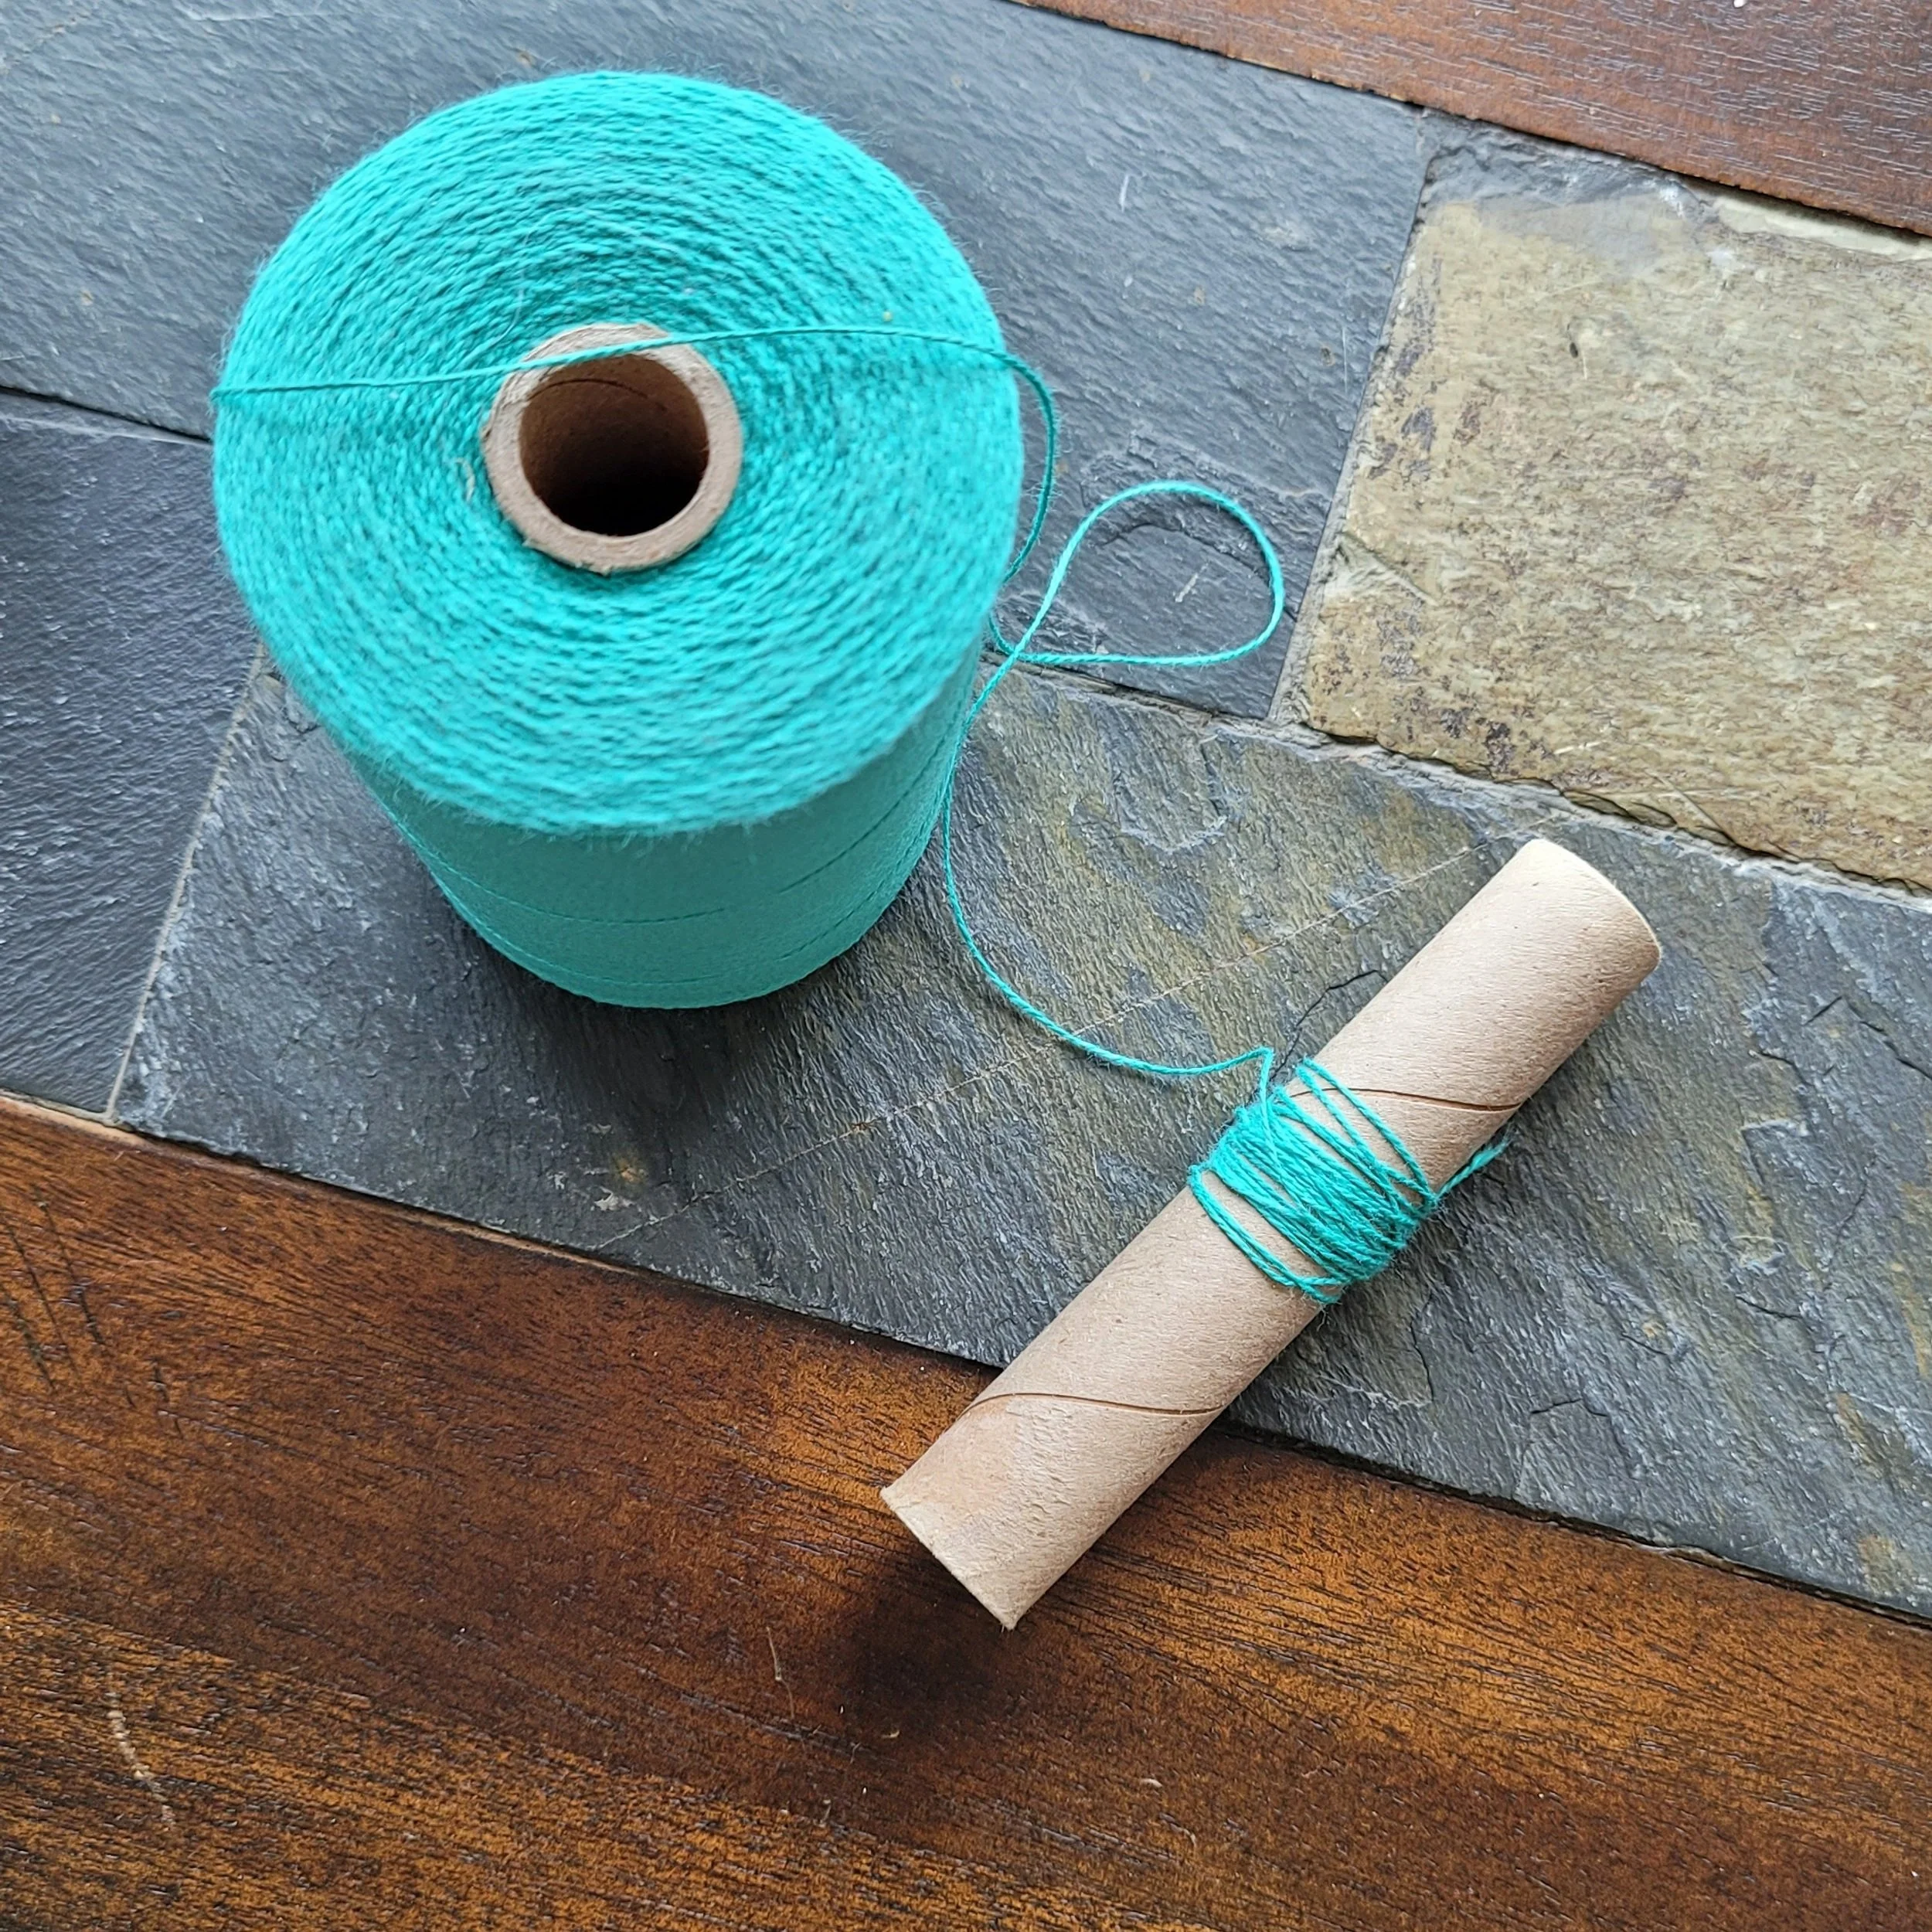
Of course, we won’t always have a second cone handy! So the next easiest way is to wind a second ball. You can wind it by hand into a ball, onto an empty cone or use a ball winder. If you use an old cone or ball winder, you can wind just as detailed above. If you have wound into a ball, you *might* want to place the ball into a bowl or bag as it will roll everywhere!

I have heard that with a cake wound from a ball winder, you can take the outside end and inside end and wind them together. I haven’t tried this, but it makes sense. If you are using a cone and a cake from a ball winder, always use the center pull! If you pull from the outside of the cake, the outside end and the inside end will get tangled and it will be a mess! (Trust me on this!)
Now, before I had as much experience as I have now, and before I had a ball winder, I would literally wind off a whole bunch of cotton onto my floor, cut it from the cone and wind the cone and floor cotton together. It worked really well unless it got tangled. I reduced the tangling by winding off 10 lengths, then, without cutting, starting a new pile of 10 lengths. It works and works well! I do recommend that both strands of cotton run under your foot and up to your shuttle. Your foot will reduce tangles and help maintain an even tension.
The next thing to cover is the actual winding onto the shuttle. This is very important as a poorly wound shuttle is a real pain in the butt! So first: tension.
Just like in warping, tension is important on your shuttle. If your two stands are not evenly tensioned, you will continually be adjusting each thread at each end of each pick. You’ll have one thread that seems to get longer every pick. Eventually you might need to cut, split-ply the ends and start weaving again.
I find that the further my cones (balls) are from my shuttle the better. So I stand up and have my cones on the floor. If I am not using a cone holder, I will run the strands under my foot. Regardless of the method of making the second ball, the tips at the top of this blog will be useful.
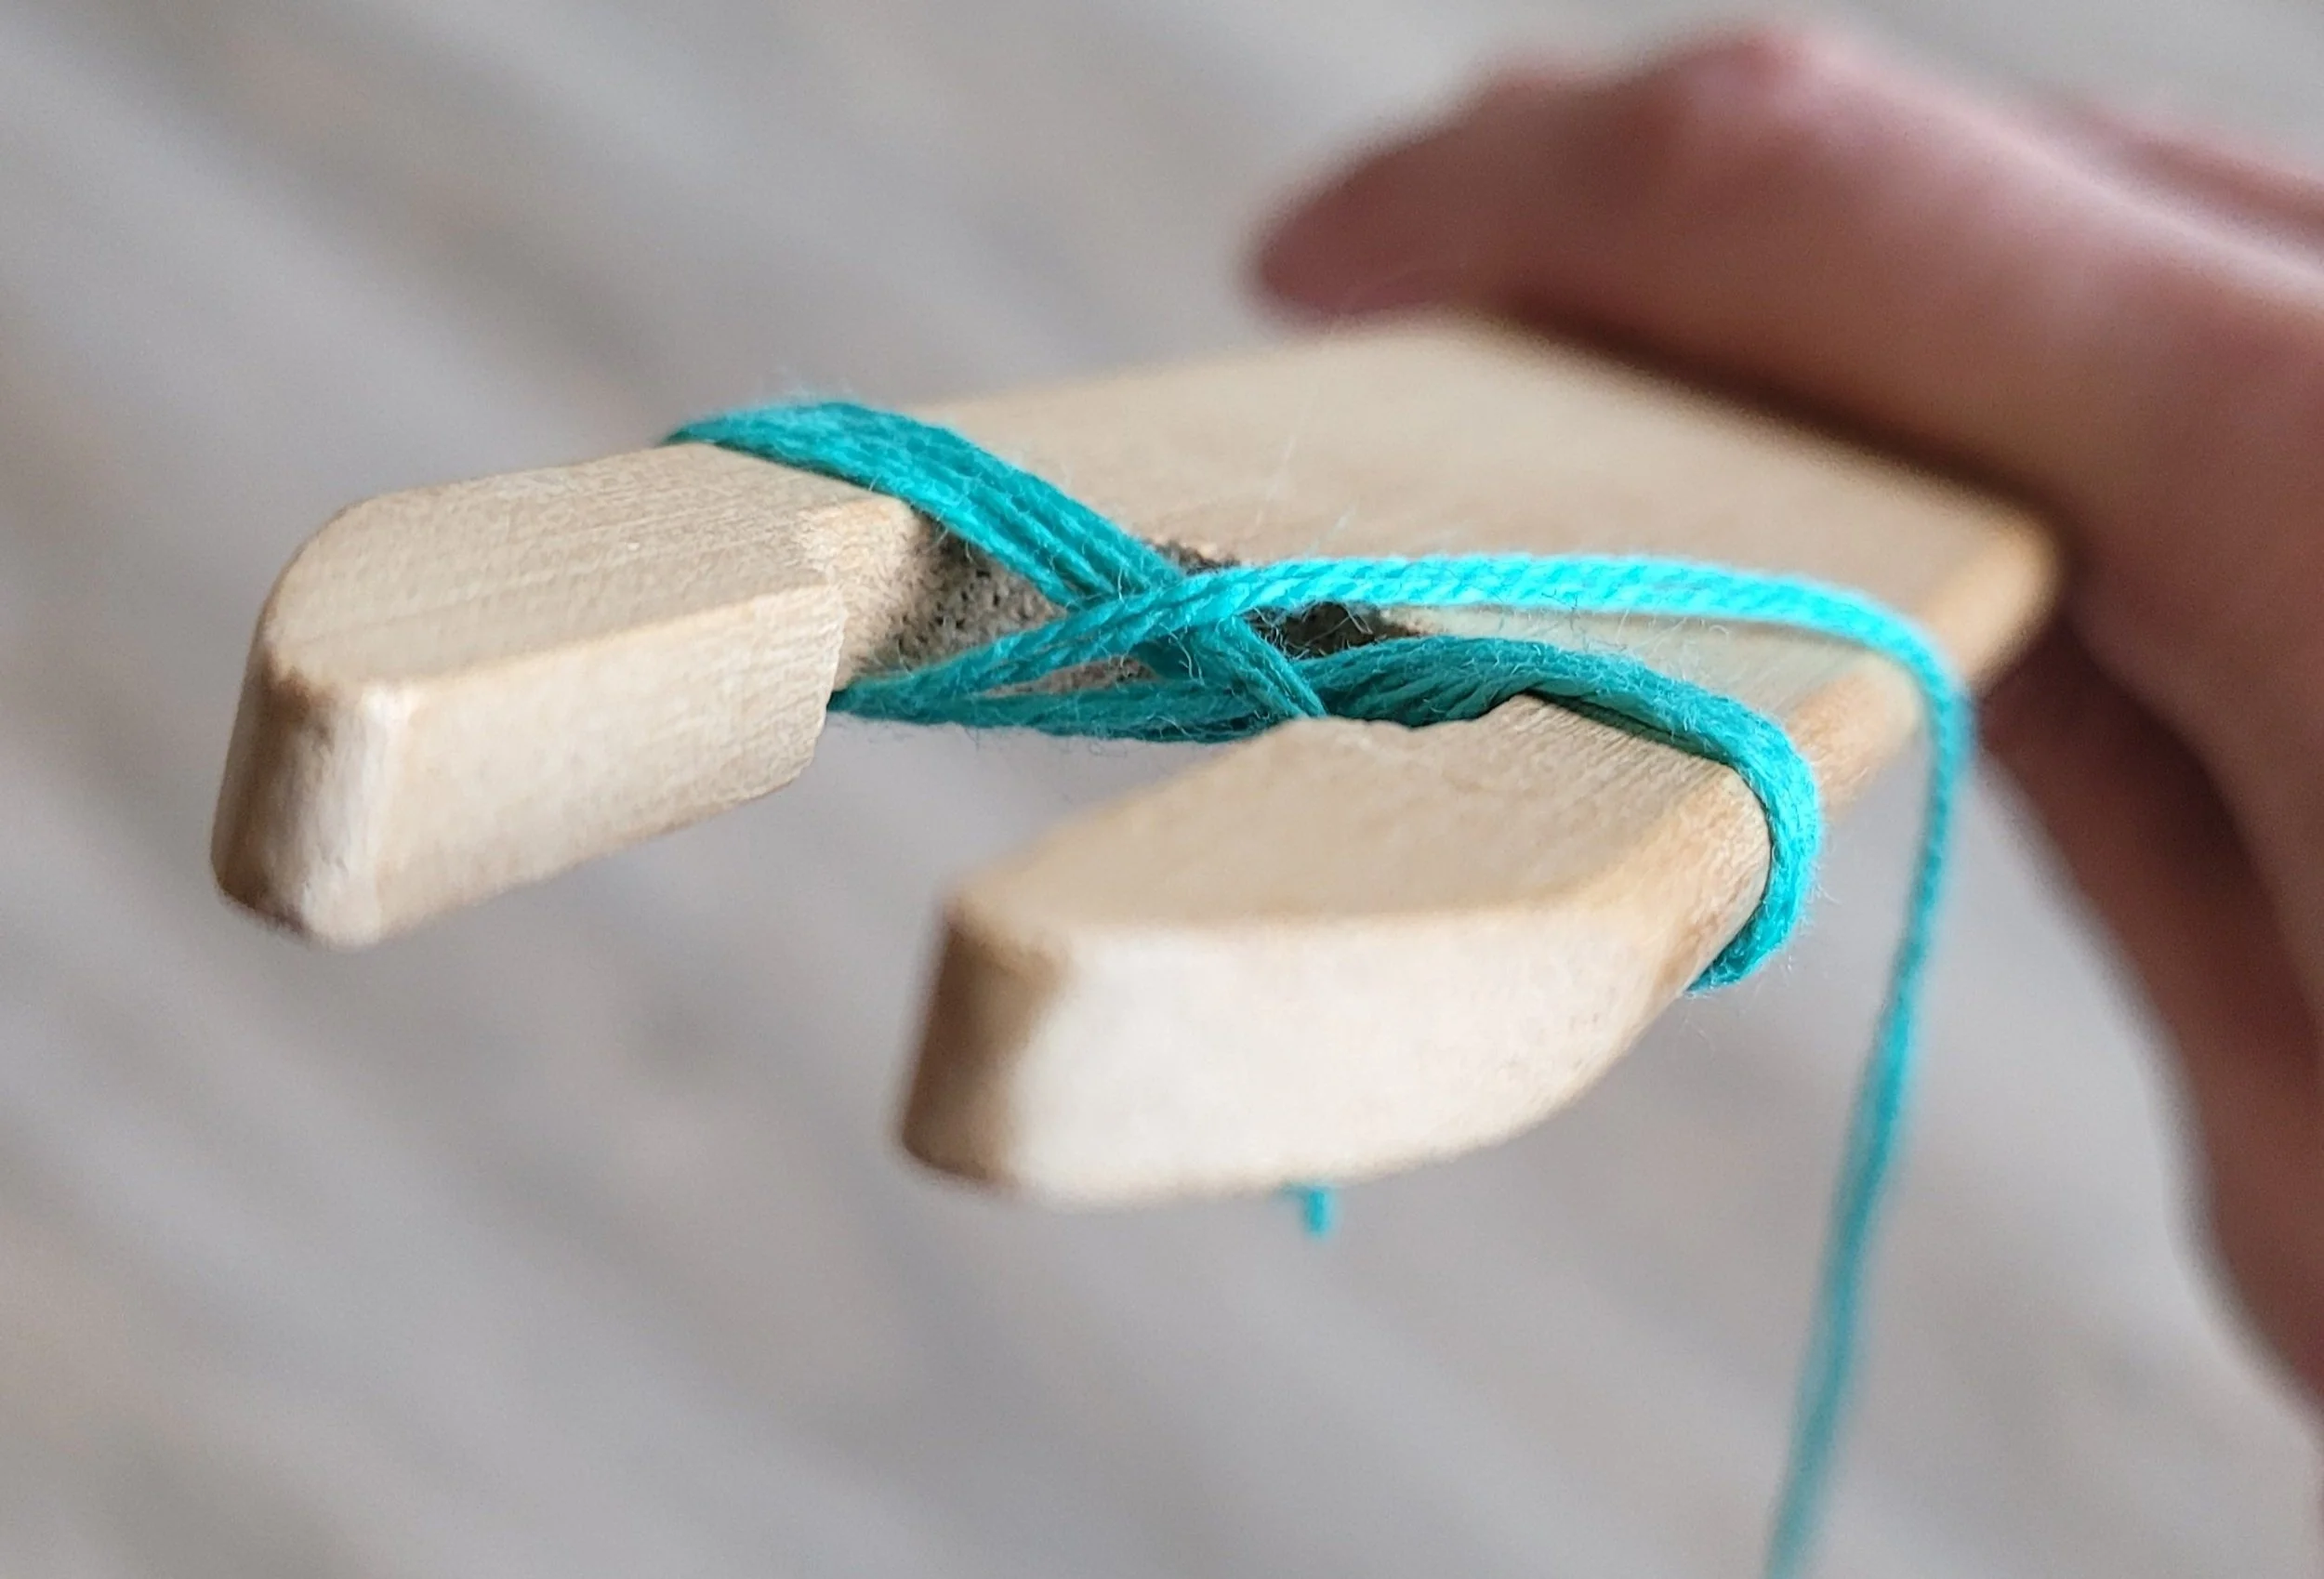
I like to wind my shuttles in a figure 8 on both sides of the shuttle at the same time. But how you wind isn’t nearly as important as tension…so wind in the way that makes you happy! I do like to start with a little figure 8 around the end of the shuttle. This helps when you get to the end of the shuttle and the cotton wants to fall off! I’ve tried several options…knots, double-sided tape and painter’s tape, but found the figure 8 works best.
And that’s it! Your shuttle is wound double, and with a bit of practise you will get the tension perfect!
Happy winding!